CONCEALER 101
Concealer is one of the most versatile makeup products because it can minimize undereye circles, hide blemishes, brighten the face and contour. This tutorial is all you need to master basic concealer techniques.
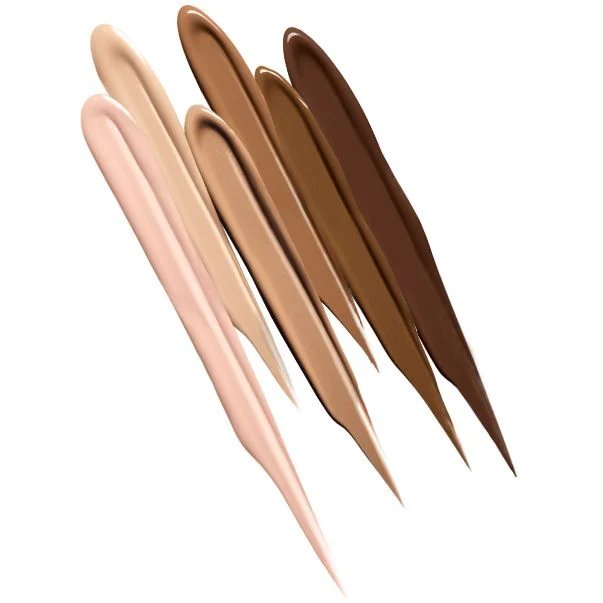
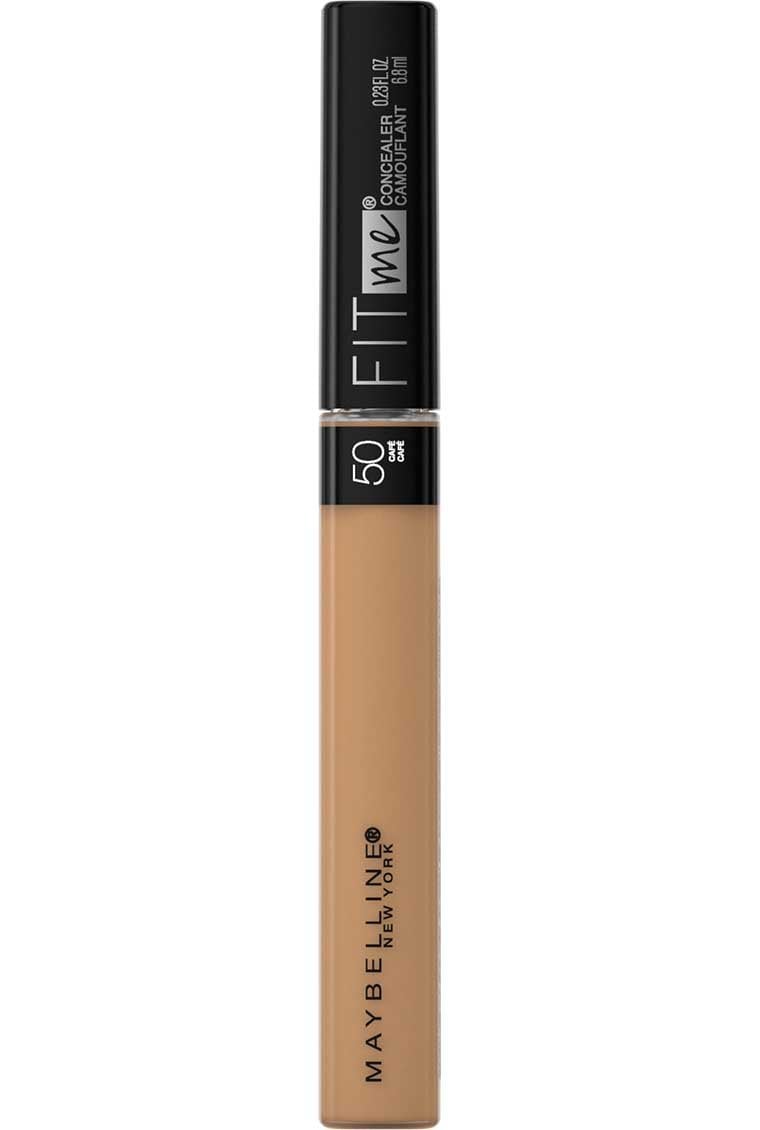
SELECT YOUR CONCEALER SHADES
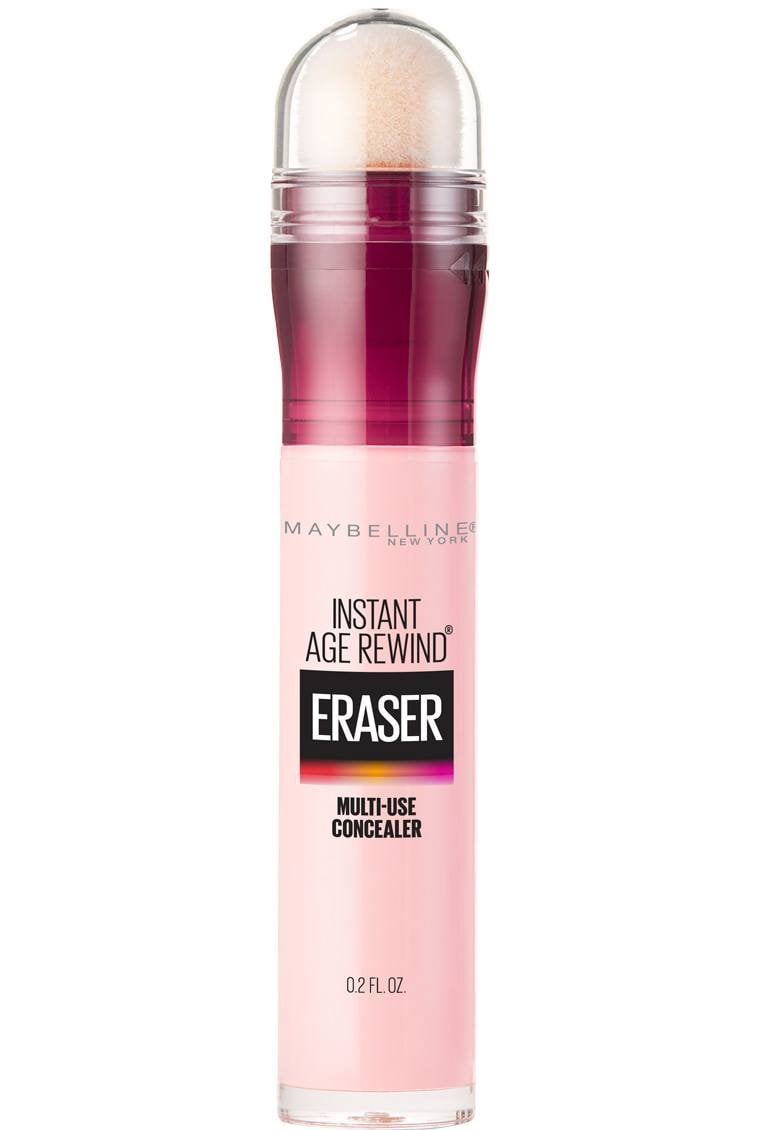
Begin by selecting your concealer shades. For undereye circles, choose a shade lighter than your skin to brighten up the area. For acne and redness, you’ll want a shade that seamlessly matches your skintone.Shop nowGETTING STARTED
Start your makeup by applying foundation before concealer. This will help you use less concealer which will give you a more natural, crease-free result.Shop nowAPPLICATION
Apply concealer in dashes to form an inverted triangle under your eye, with the tip pointing to your cheek. Make sure you don’t apply too much product because that can cause creasing. Smooth and blend the dashes by gently tapping using your ring finger, a concealer brush or a damp makeup sponge.Shop nowSETTING
Set the concealer using a very light application of translucent powder (too much powder can also cause creasing).REDNESS
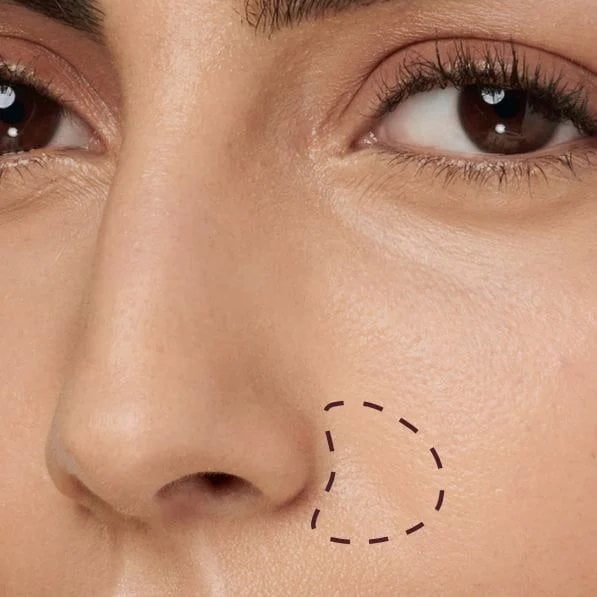
For redness, apply small dots of concealer where needed (this is sometimes needed at the sides of the nose) and blend by gently tapping using your ring finger, a concealer brush or a damp makeup sponge.SPOT CORRECTION
To cover acne, start by applying a tiny dot of concealer to just cover the blemish and any redness surrounding it. Try not to overdo it, or you will end up highlighting the spot. Blend carefully by gently tapping the concealer with your finger or a small brush.Shop now
.png?rev=-1)